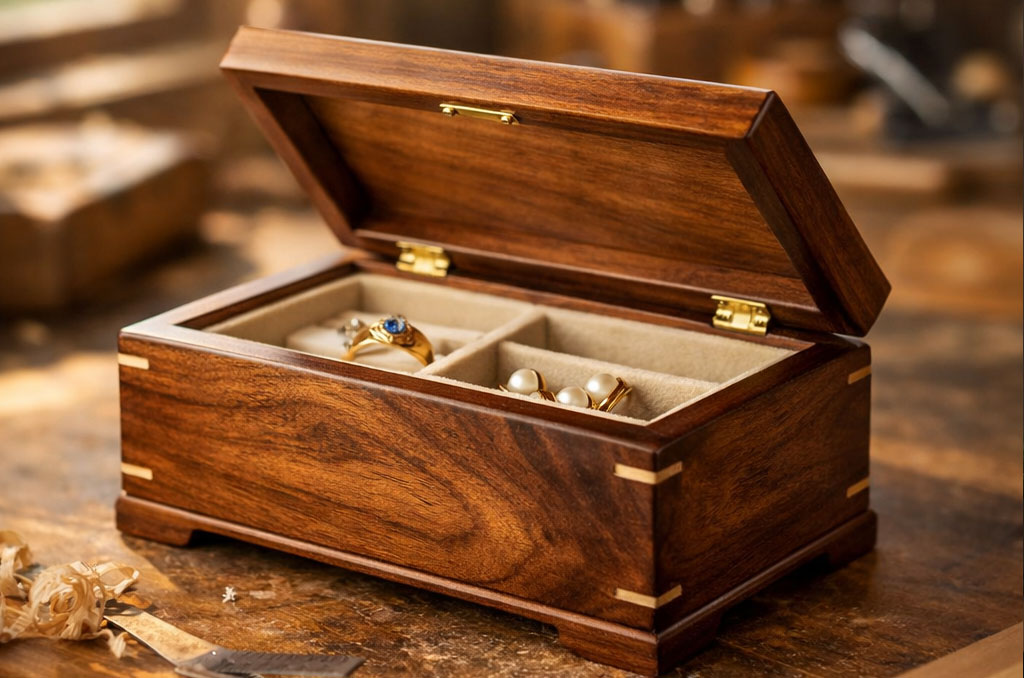
How to Make a Fine Wood Jewelry Box Step-by-Step
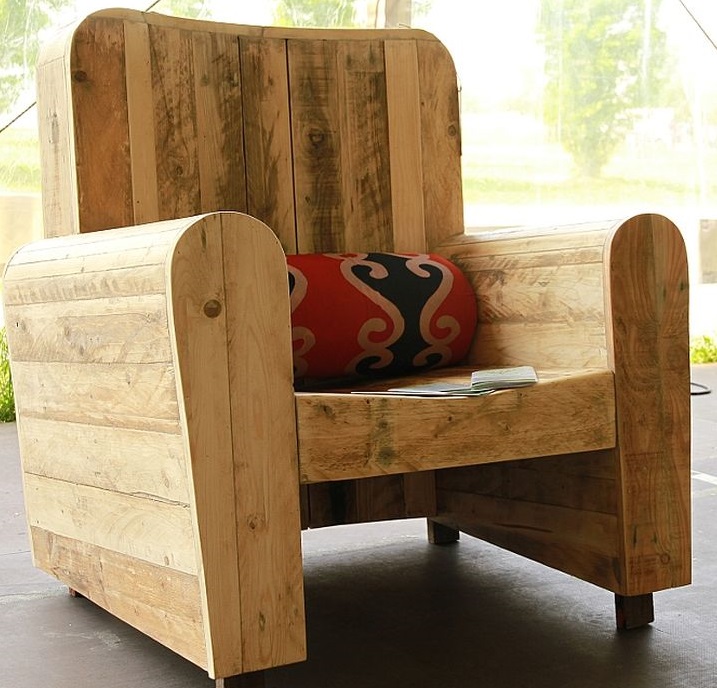
Creating a fine wood jewelry box is one of the most rewarding projects a hobbyist can undertake. It is the perfect marriage of utility and art, allowing you to transform a raw piece of timber into a functional heirloom that can be passed down through generations. Beyond the finished product, the process of making a jewelry box teaches you the fundamentals of precision, patience, and the unique characteristics of different wood species.
For many beginners, the idea of building something “fine” sounds intimidating. You might worry about complex joinery or the high cost of materials. However, the beauty of a jewelry box lies in its manageable scale. Unlike building a large dining table or a wardrobe, a jewelry box allows you to practice high-level craftsmanship on a small canvas. You don’t need a massive industrial workshop; a few basic tools and a focused afternoon are often enough to get started on your woodworking journey.
In this guide, we are going to break down the process into easy-to-follow phases. We will cover everything from selecting the right wood to the final polish. By the time you reach the end of this article, you will have the confidence to step into your workspace and start building a fine wood jewelry box step-by-step, turning a simple slab of wood into a stunning treasure chest for your most valued items. By the time you reach the end of this article, you will have the confidence to step into your workspace and start building a fine wood jewelry box step-by-step. If you’re completely new to the craft, you may also want to start with this beginner-friendly guide on how to get started with fine woodworking, which explains core techniques and workshop basics before tackling your first project.
Selecting the Right Materials for Your Jewelry Box
The first step in any fine woodworking project is choosing the right material. For a jewelry box, the wood isn’t just the structure; it is the primary visual element. You want to look for hardwoods that offer stability and beautiful grain patterns. Common favorites include walnut for its deep chocolate tones, cherry for the way it darkens beautifully over time, or maple for a clean, modern look. Because the project is small, you can often find “exotic” scraps at lumber yards that would be too expensive for larger furniture but are perfect for a box.
Why does wood choice matter so much? Different species react differently to humidity and cutting tools. A “fine” box requires wood that won’t warp easily as the seasons change. Hardwoods are generally more stable and hold crisp edges better than softwoods like pine or cedar. When you are learning how to make a fine wood jewelry box step-by-step, starting with a forgiving but sturdy wood like walnut or mahogany can make the learning curve much smoother and the final result more professional.
To apply this to your project, visit a local hardwood dealer rather than a big-box home improvement store. Look for boards that are “straight-grained” and free of large knots or cracks. You will want wood that is roughly $1/2$ inch to $3/4$ inch thick for the sides, and perhaps $1/4$ inch thick for the internal dividers. Taking the time to pick a board with an interesting “figure”—the natural patterns in the wood—will do half the design work for you before you even make your first cut.
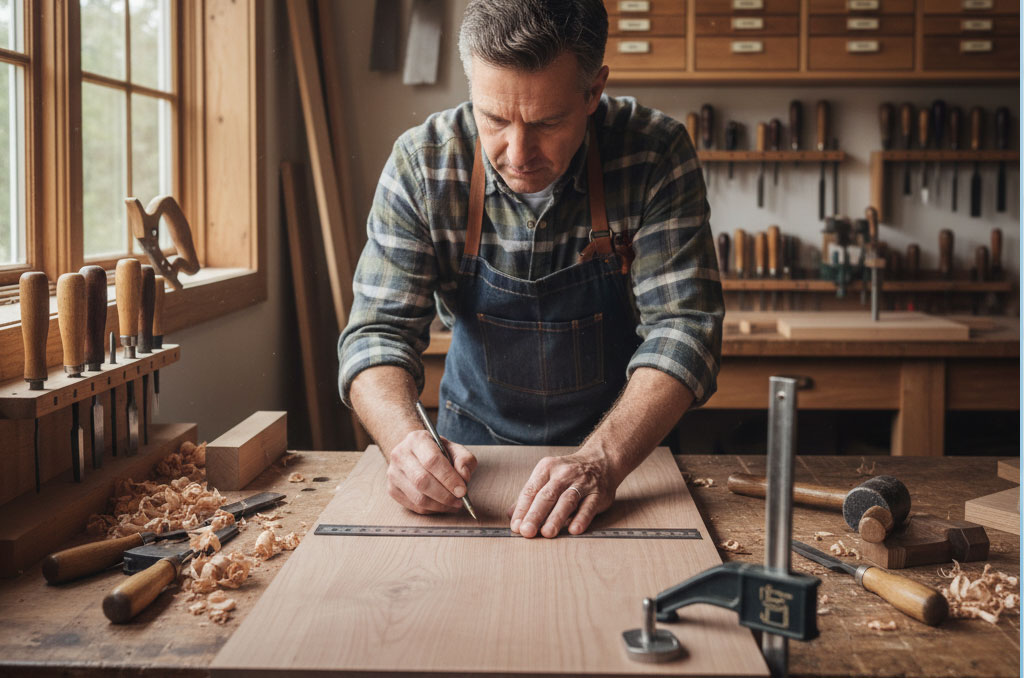
Preparing the Wood and Cutting the Sides
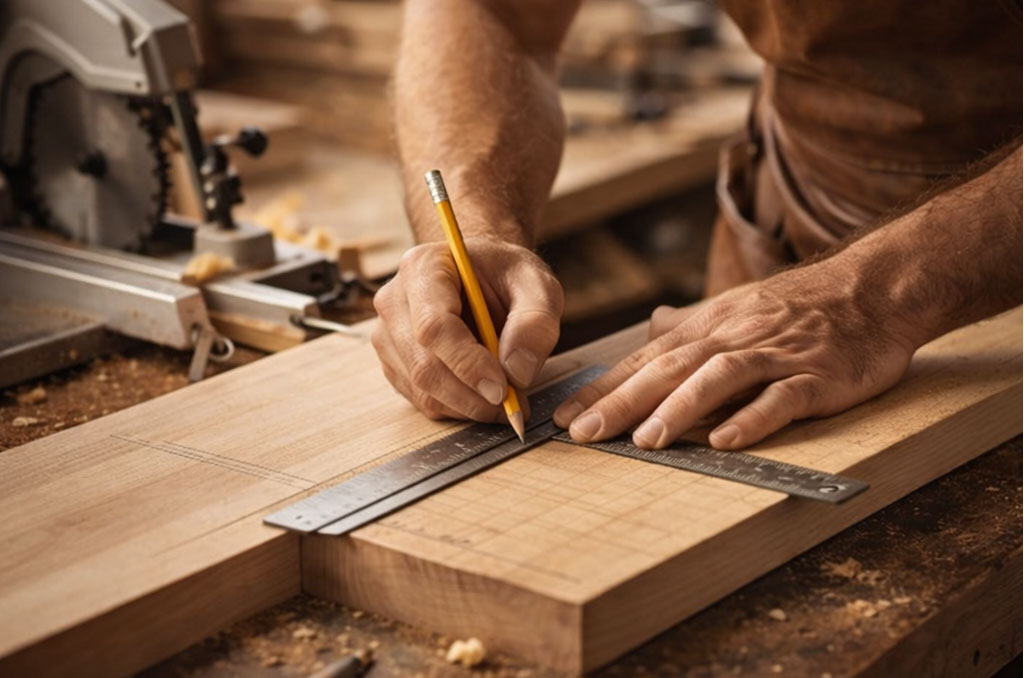 Once you have your material, the next phase is preparing the pieces for assembly. This begins with “milling” your wood to the correct thickness and then cutting your four side pieces. For a standard jewelry box, a rectangular shape is a classic choice. You will need two long sides and two short sides. It is vital that the opposite sides are exactly the same length; even a $1/32$ inch difference can result in a box that is out of square, making it difficult to fit the lid or the bottom later.
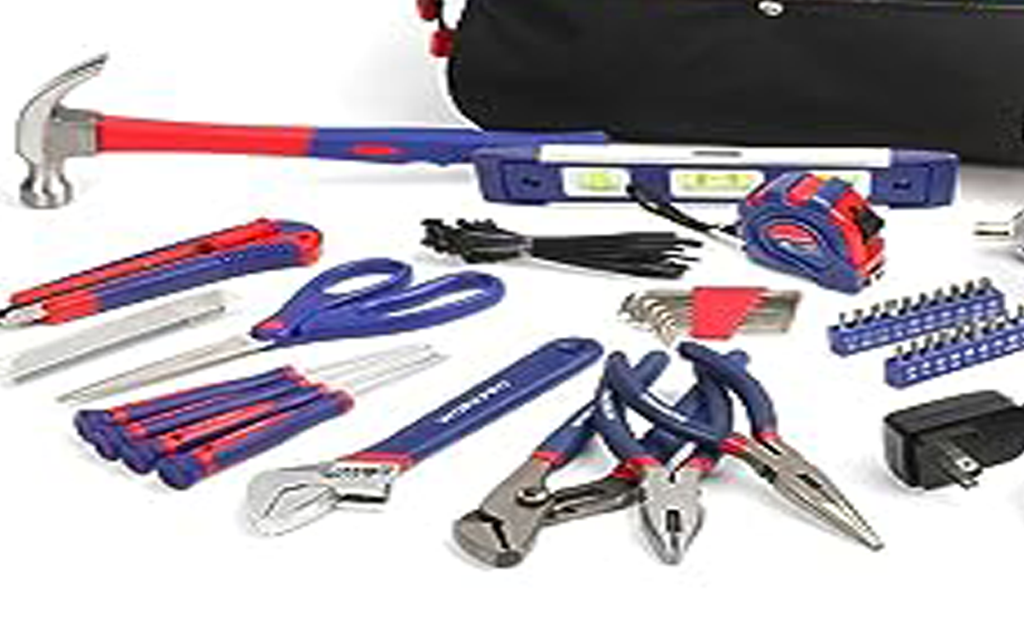
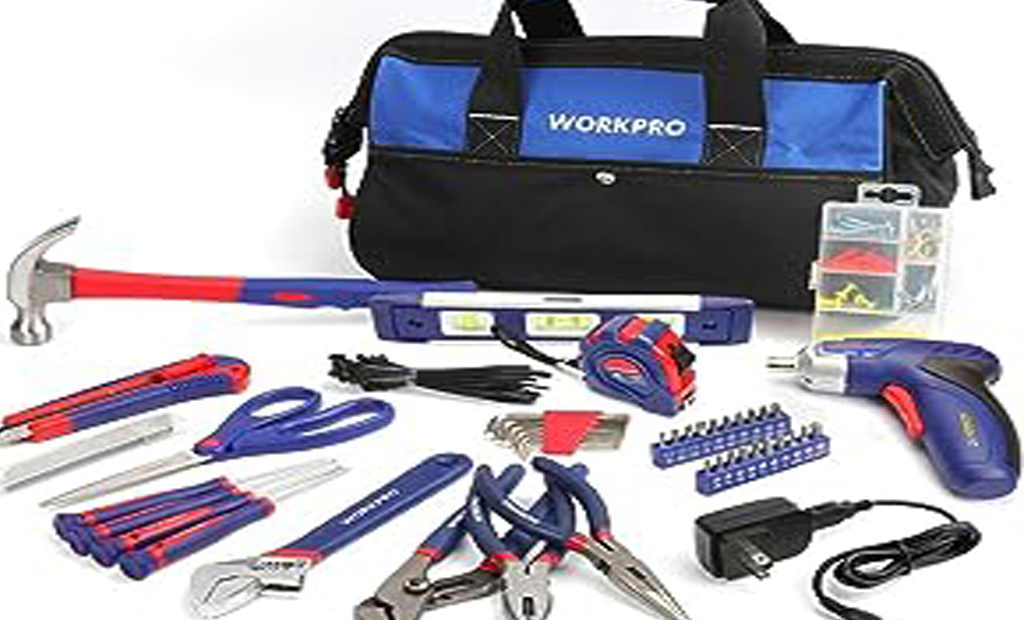
Precision is the hallmark of fine woodworking. Using sharp, reliable tools makes the difference between clean joints and frustrating mistakes. If you’re not sure which tools are essential for accurate measuring, cutting, and sanding, this guide on essential woodworking tools breaks down exactly what you need for small fine-wood projects like a jewelry box. Think of the box sides like the walls of a house; if the walls aren’t straight, nothing else will fit. Using a sharp saw and a reliable measuring square is essential here. If you are a beginner, take the “measure twice, cut once” mantra to heart. It’s always better to leave a piece slightly long and sand it down to size than to cut it too short and have to start over.
To execute this step, start by squaring one edge of your board. Use a miter saw or a hand saw with a guide to cut your four sides. If you want a truly professional look, try to cut the pieces in sequence from the same board. This is called “grain wrapping,” where the pattern of the wood appears to flow continuously around the corners of the box. This small detail is what separates a basic container from a truly fine wood jewelry box.
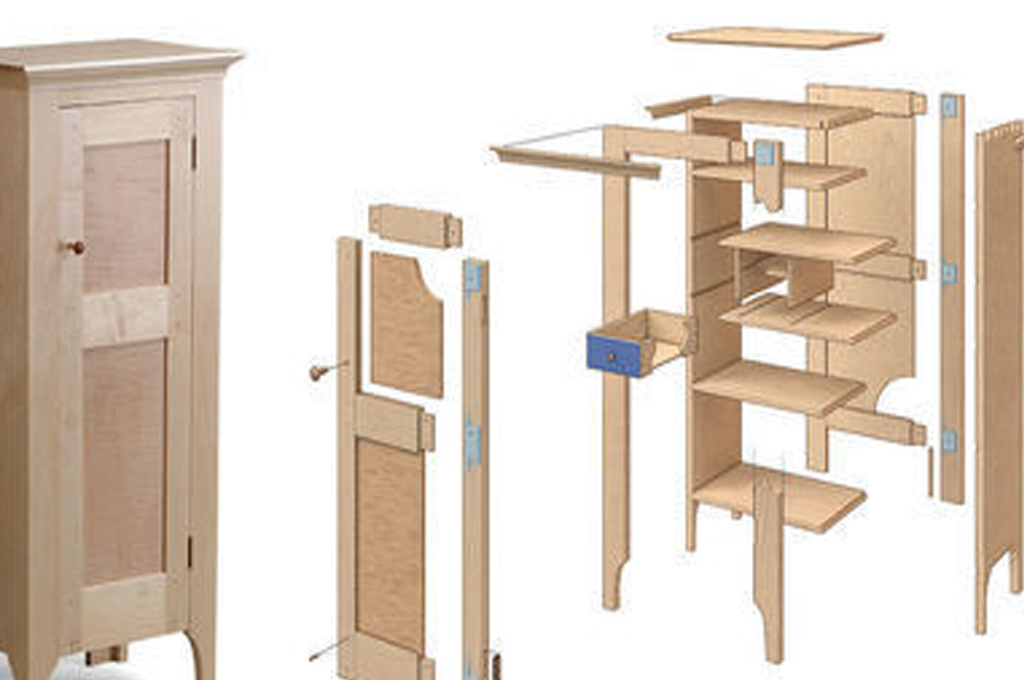
Master the Joinery: Connecting the Corners
Joinery is where the magic happens in woodworking. It is the method used to connect the pieces of wood together. For a beginner making a jewelry box, the “miter joint” is the most popular choice. This involves cutting the ends of your side pieces at a 45-degree angle so they meet to form a perfect 90-degree corner. This hide the “end grain” of the wood, providing a seamless, clean look that highlights the natural beauty of the timber.
The reason we focus on miters for a fine jewelry box is purely aesthetic. While a “butt joint” (where one board simply hits the face of another) is easier, it leaves the porous ends of the wood visible, which can look unfinished. A miter joint, when executed correctly, looks like the wood is simply folding around the corner. Because these joints can be fragile on their own, we often reinforce them with “splines”—thin strips of wood glued into slots cut across the corner—which adds both strength and a decorative touch. Because joinery mistakes are common at this stage—such as gaps in miters or weak glue joints—it helps to understand what can go wrong and how to fix it. This guide on preventing and fixing common woodworking mistakes explains practical solutions that can save your project before it’s too late.
To achieve perfect miters, ensure your saw is calibrated exactly to 45 degrees. Use a scrap piece of wood to test the fit before cutting your actual box sides. When you go to glue the pieces together, a simple trick is to use painter’s tape on the outside of the joints. Lay the pieces flat, end-to-end, tape the seams, flip them over, apply glue, and then “roll” the box into its final shape. The tape acts as a hinge and a clamp, pulling the corners tight for a clean finish.
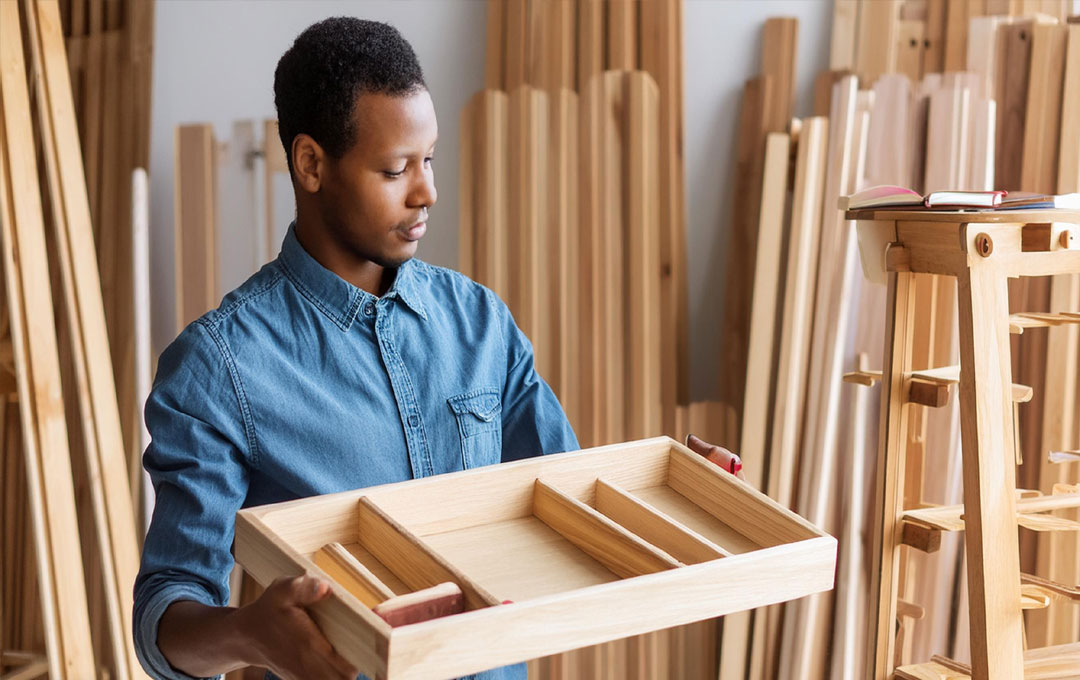
Crafting the Lid and the Bottom
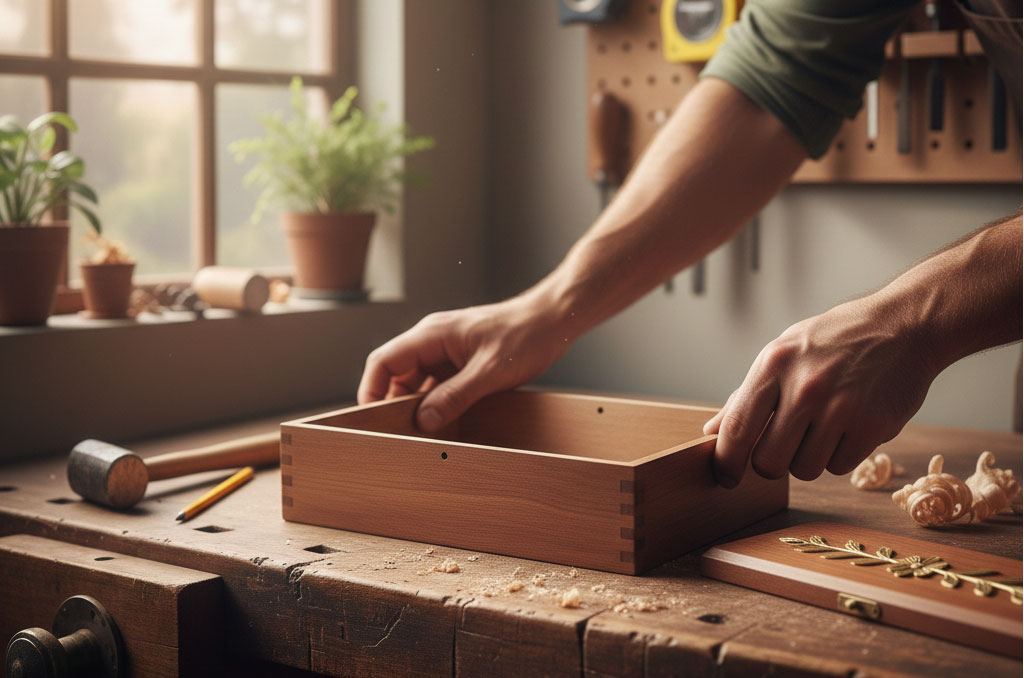 With the main frame of the box assembled, it is time to focus on the top and the bottom. There are several ways to approach this, but a “floating” lid and bottom are ideal for beginners. This involves cutting a small groove (called a kerf or a rabbet) near the top and bottom edges of your side pieces before you glue them together. The lid and bottom panels then slide into these grooves, allowing the wood to expand and contract naturally without cracking the box.
This technique matters because wood is a living material that breathes. If you were to glue a solid wood bottom directly to the sides, the natural movement caused by humidity could eventually force the joints apart. By letting the panels “float” in their grooves, you ensure the longevity of your work. For a fine wood jewelry box, the lid is often the centerpiece, so you might choose a piece of wood with a particularly striking grain or even a different species to create a beautiful contrast.
To apply this, use a table saw or a router to cut a groove about $1/4$ inch deep on the inside faces of your side pieces. Measure the space between the grooves and cut your lid and bottom panels to be about $1/16$ inch smaller than that measurement. This tiny gap provides the necessary “breathing room.” When you do your final assembly, do not put glue in these grooves; let the panels sit freely so they can move as the environment changes.
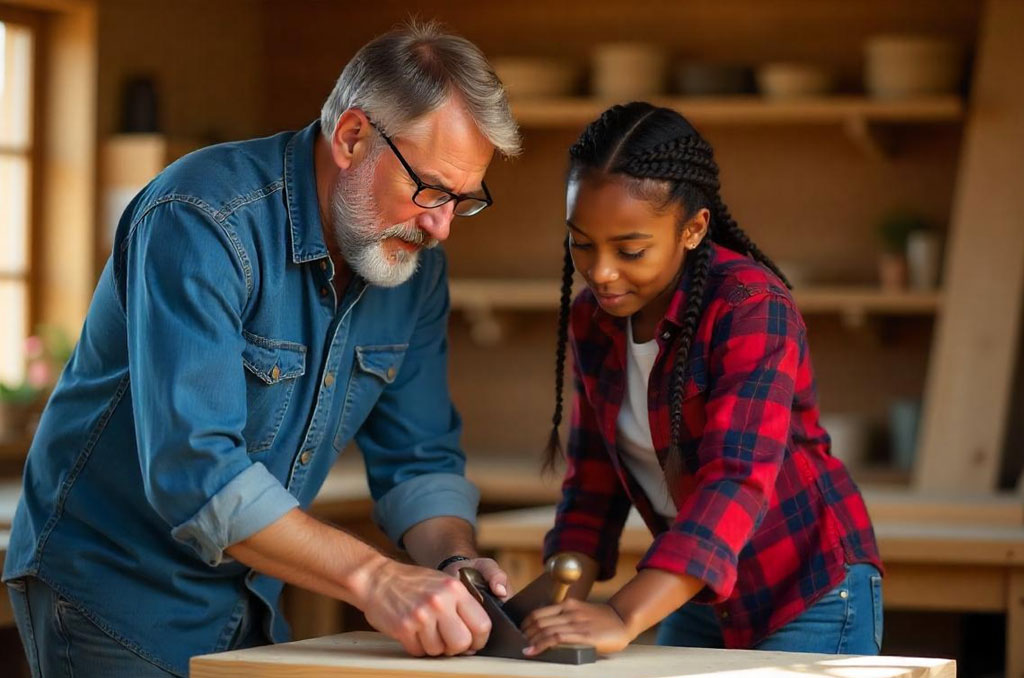
Sanding and Applying a Professional Finish
The final step in making a fine wood jewelry box step-by-step is the finish. Many beginners rush this stage, but sanding is arguably the most important part of the process. You want to start with a medium-grit sandpaper (around 120 grit) to remove any tool marks or glue squeeze-out, and gradually work your way up to a fine grit (220 or 320). When the wood feels as smooth as glass to the touch, you are ready for the oil or lacquer.
Finishing the wood serves two purposes: protection and enhancement. A good finish protects the wood from oils on your hands and moisture in the air. More importantly, it “pops” the grain, bringing out depths of color and shimmering patterns that were invisible when the wood was dry. For a jewelry box, a simple wipe-on oil like Danish oil or Tung oil is often best. It is easy to apply, nearly impossible to mess up, and leaves a natural, satin feel that invites people to touch the box.
To get the best results, always sand in the direction of the wood grain to avoid leaving visible scratches. Once the box is clean and dust-free, apply your chosen finish with a lint-free cloth. Let it soak in for a few minutes, then wipe off the excess. Repeat this process two or three times over 24 hours. You will see the wood transform from a dull brown or tan into a rich, vibrant piece of art that looks like it belongs in a high-end gallery.
Final Touches and Hardware
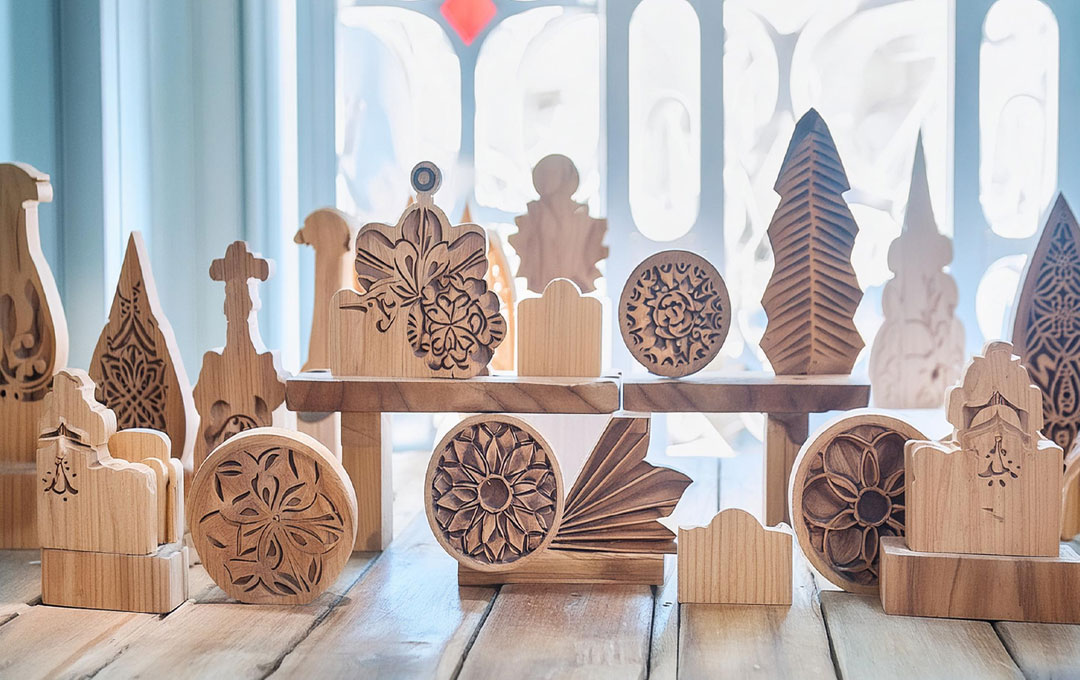
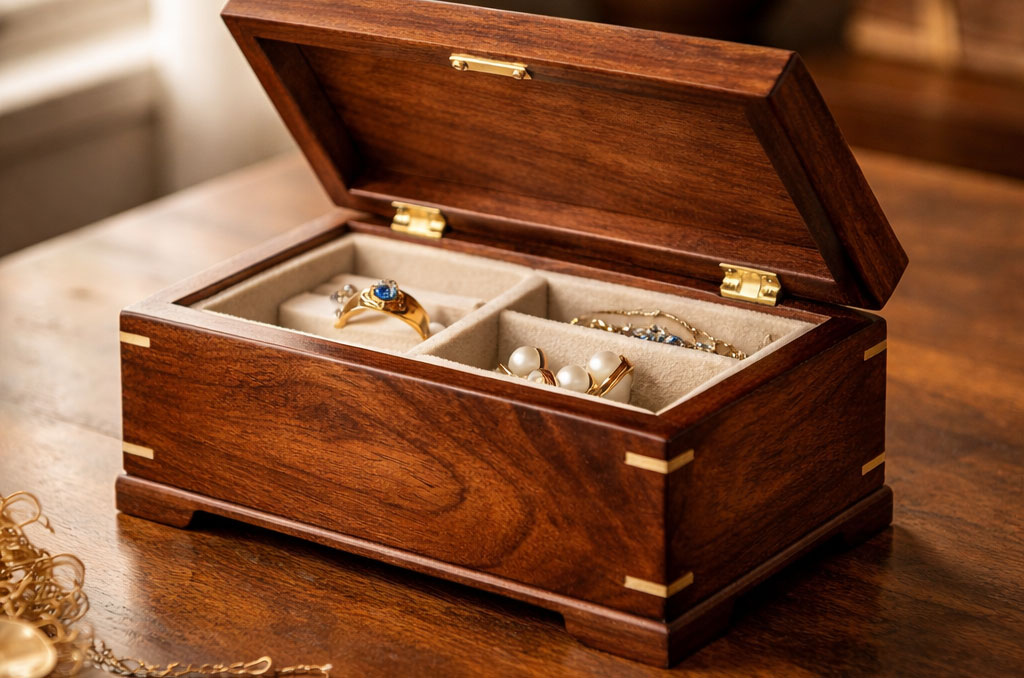 After the finish has dried, you can add the final hardware to complete your project. This might include small brass hinges, a decorative latch, or even a velvet lining for the interior. Installing hinges requires a steady hand and a sharp chisel, as you will need to carve out a small “mortise” (a shallow pocket) so the hinges sit flush with the wood. These small details provide the final “click” of quality that defines fine woodworking. If you want to push your jewelry box beyond a simple build, this is the perfect stage to explore decorative upgrades. Our guide on creative woodworking design ideas shares inspiration such as inlays, contrasting woods, and custom detailing that can elevate a simple box into a true statement piece.
Building a jewelry box is a journey of precision and creativity. By following these steps, you have moved from a raw board to a finished piece of functional art. Every time you open the box, you will be reminded of the techniques you mastered—from the perfect 45-degree miters to the silky-smooth finish. It is a project that rewards your patience and provides a lasting home for your most precious items.
Now that you understand how to make a fine wood jewelry box step-by-step, the best thing you can do is head to your workshop and start. Don’t worry about making it perfect on your first try; every “mistake” is simply a lesson in how wood behaves. Once you’ve completed your first box, share your results with friends or look into more advanced techniques like dovetail joints or wood inlaying to keep growing your skills. Happy building!