How to Prevent and Fix Common Woodworking Mistakes
Woodworking is one of those crafts that blends creativity, precision, and patience. The feeling of shaping a plain piece of timber into something beautiful or useful is deeply satisfying. But let’s be real—every woodworker, from hobbyists to seasoned pros, has made a mistake or two along the way. A wrong cut, a glue drip, or an uneven finish can happen to anyone. The good news is that most woodworking errors can be prevented or easily corrected once you understand their causes.
In this post, we’ll explore some of the most common woodworking mistakes and how to deal with them like a pro. You’ll learn not just how to fix issues when they arise but also how to prevent them altogether. So, whether you’re crafting a fine woodworking journey project or building a small home item, these tips will help you work smarter, safer, and with more confidence.
Rushing the Measuring and Cutting Process
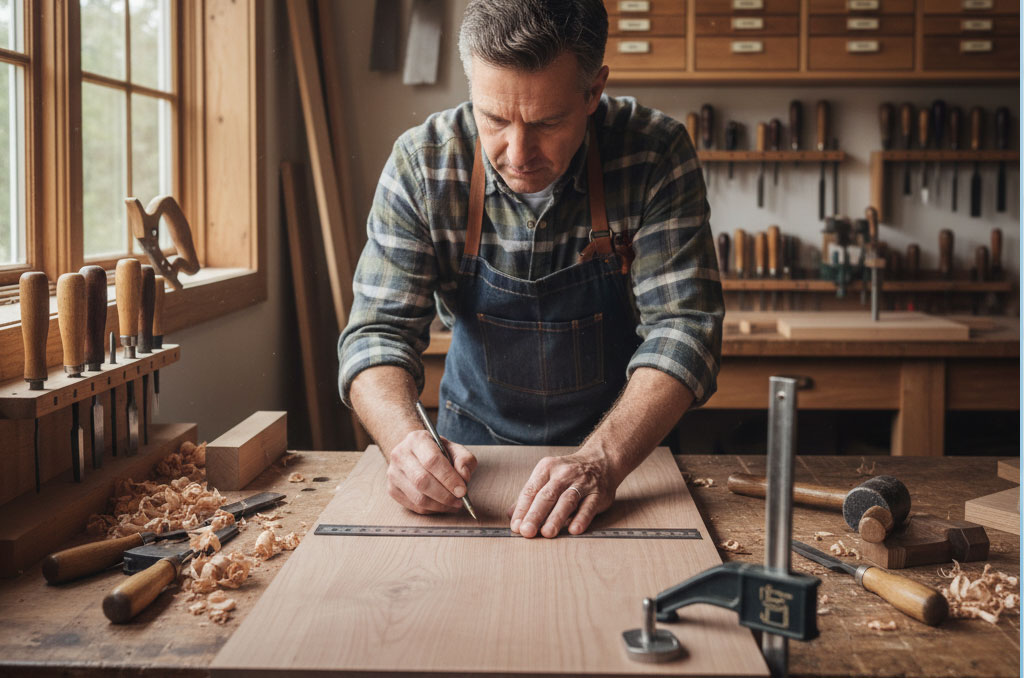
 One of the golden rules in woodworking is: measure twice, cut once. But let’s be honest — we’ve all been tempted to rush through measuring and cutting, especially when we’re excited to see results. The problem is that even a small measuring error can throw off your entire project. A board that’s an inch too short or an angle that’s slightly off can make your pieces not fit together properly.
To prevent this, always take your time with measuring. Use a reliable tape measure, double-check your marks, and ensure your saw blade follows the correct line. It helps to use a square or straightedge to confirm right angles before cutting. If you do end up cutting a piece too short, don’t panic. You can often fix it by adding a trim piece, filler, or using it for a smaller part of the project instead.
Another helpful tip is to label your pieces before cutting. This way, you won’t mix them up later and risk cutting the wrong one. Remember, patience in this stage saves you hours of frustration later.
If you want to refine your measuring and cutting skills, check out some expert tutorials on Fine Woodworking — they cover everything from joinery techniques to accurate layout methods that help you avoid costly errors.
Ignoring Wood Grain Direction
Many beginners overlook the direction of the wood grain, but it has a huge impact on the look and strength of your project. Cutting or sanding against the grain can cause tear-out, rough surfaces, or uneven finishes. It can also weaken joints if you’re gluing pieces together.
Always take time to study your wood before you begin. Notice the direction of the grain lines and plan your cuts accordingly. When sanding, move your sandpaper in the same direction as the grain to avoid scratches. For planing or jointing, make sure your blades move with the grain, not against it.
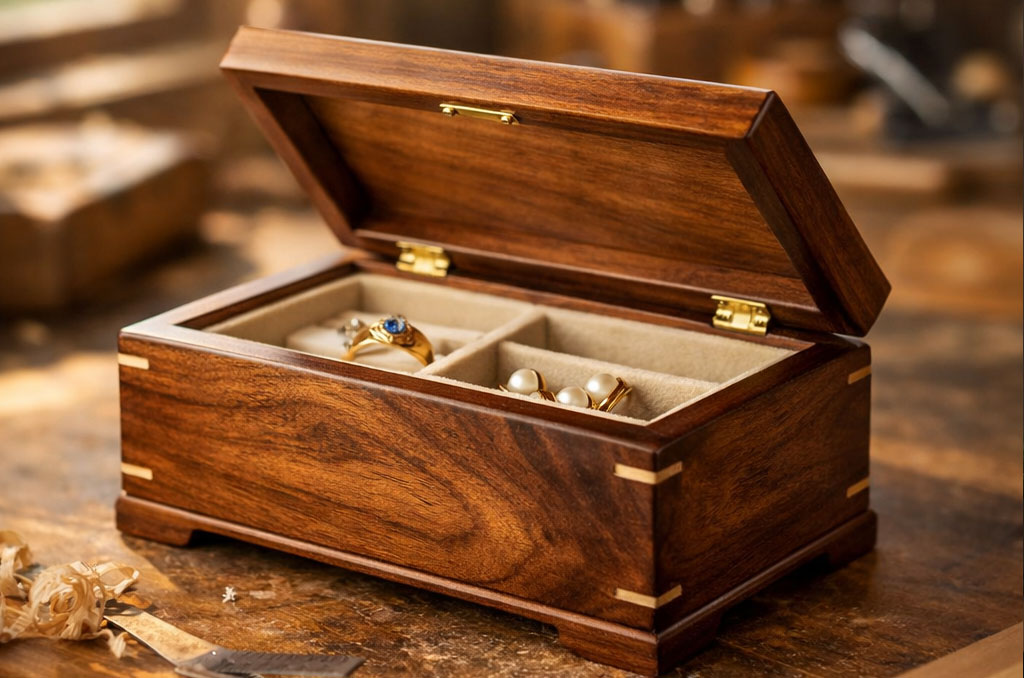
If you’ve already gone against the grain and ended up with tear-out, don’t worry. You can usually repair it with wood filler or by sanding it down carefully. For deep gouges, a bit of matching wood putty and fine-grit sanding can make it nearly invisible once stained or painted. Understanding the grain direction turns a good project into a great one—and browsing a few creative project ideas can help you learn how grain affects appearance and design choices.
Using Dull Tools
 Working with dull tools is like trying to write with a blunt pencil — frustrating and messy. Dull blades can cause rough cuts, burn marks, and even dangerous kickbacks on power tools. They also make you work harder, which can lead to mistakes or even injury.
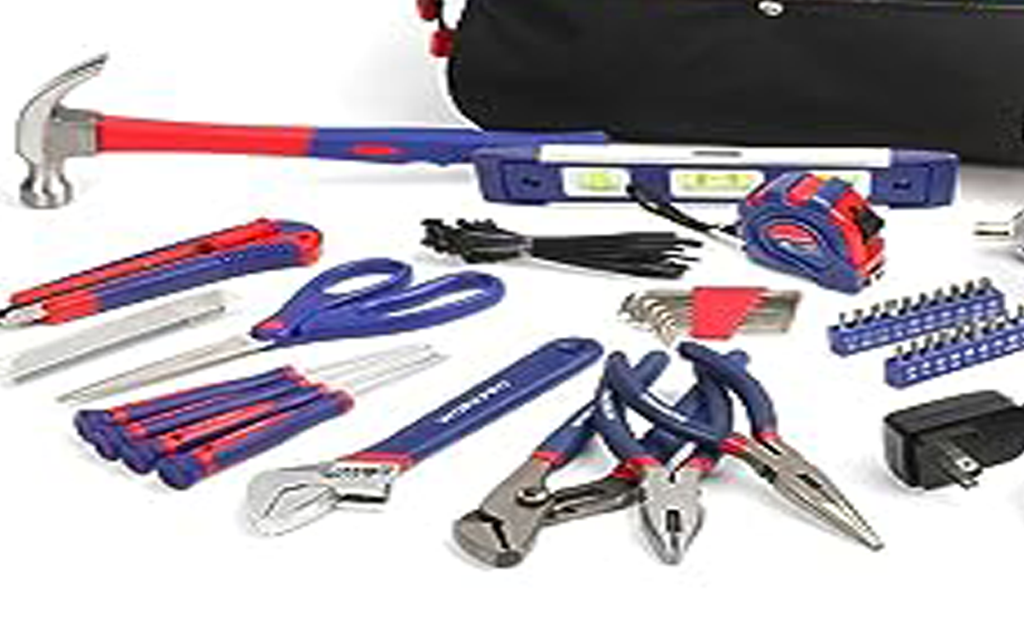
To prevent this, keep your tools sharp and well-maintained. Regularly inspect your chisels, saw blades, and plane irons. A quick touch-up with a sharpening stone or honing guide can make a huge difference. Not only will your cuts be cleaner, but your tools will last longer too. For more on caring for your gear, check a guide on tool maintenance tips.
If you’ve made a rough cut with a dull blade, smooth it out with sandpaper or a hand plane. But try to sharpen before continuing to avoid more uneven results. Investing time in tool maintenance might not seem exciting, but it’s one of the easiest ways to improve your woodworking skills instantly.
Overusing or Misapplying Glue
Wood glue is a carpenter’s best friend, but too much of it can cause problems. Excess glue can seep out of joints, leaving visible stains after staining or finishing. On the other hand, not using enough glue can cause weak joints that may come apart later.
To apply glue correctly, use a small brush or roller to spread it evenly. Make sure all mating surfaces are coated but not dripping. Clamp your pieces tightly and wipe away any squeeze-out immediately with a damp cloth before it dries. This small step can save you a lot of sanding and touch-ups later—if you need tips on the right clamps and how to use them, see the guide on clamping techniques and securing workpieces.
If you already have dried glue stains, don’t scrape aggressively. Instead, let the glue harden completely and then gently sand it away. Alternatively, a chisel or scraper can help lift dried glue without damaging the surface. Balance is key — just enough glue for strength, not so much that it becomes a cleanup headache.
Poor Sanding Techniques
Sanding might seem simple, but it’s one of the most common areas where woodworkers make mistakes. Skipping grits, sanding unevenly, or using too much pressure can ruin the surface and make your finish look blotchy. It can also make joints not fit properly if too much material is removed.
The key is to start with a coarse grit (like 80 or 100) to remove rough spots, then move to finer grits gradually. Never skip from a low grit to a very high one — you’ll just lock in scratches that will show up later. Always sand along the grain, not across it.
If you notice uneven spots or swirl marks, switch to a sanding block or orbital sander with even pressure. For fixing oversanded edges, apply wood filler and re-sand gently once it’s dry. Using the right sanding tools helps a lot—see 10 essential woodworking tools for tool picks that can get you that smooth, professional finish.
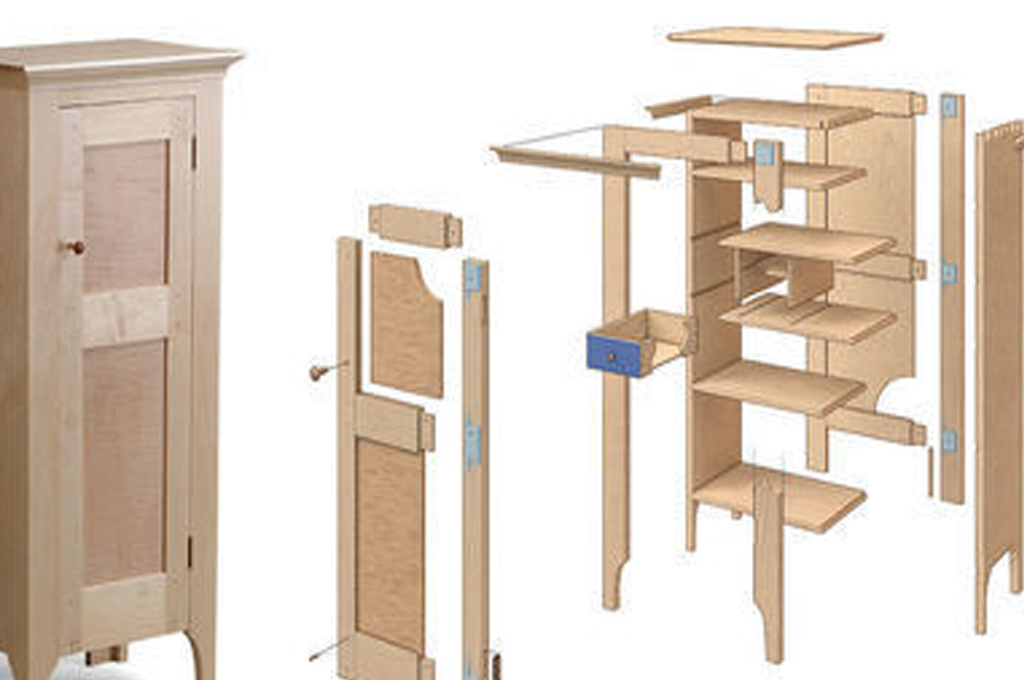
Skipping Dry Fitting Before Assembly
Dry fitting simply means assembling your project without glue or nails to make sure everything fits properly. Many beginners skip this step out of excitement, only to find that their pieces don’t align correctly once the glue is applied. At that point, adjustments become difficult or impossible.
Always do a dry fit before final assembly. It allows you to check for gaps, uneven edges, or misaligned joints. You can also mark your clamping positions in advance. Once you confirm everything fits perfectly, then apply glue and fasteners.
If you forgot to dry fit and now something doesn’t fit right, don’t panic. Try gently separating the parts before the glue sets. If it’s already dry, you may need to plane, sand, or trim the joint slightly to make it even. This small step before gluing saves time, materials, and frustration in the long run.
Neglecting Safety Precautions
 Woodworking can be fun, but it involves sharp tools, fast-moving blades, and flying wood chips. Skipping safety measures is one mistake you can’t afford to make. Always wear safety glasses, ear protection, and a dust mask. Tie back long hair and avoid loose clothing that could get caught in machinery.
Keep your workspace clean and well-lit. Clutter can lead to accidents or damage to your project. Before turning on a power tool, double-check that all adjustments are secure and that the blade or bit is sharp and clean. A few seconds of precaution can prevent serious injuries.
If you do have a minor mishap, treat it quickly and safely. Keep a first aid kit nearby, and never push yourself to keep working when you’re tired or distracted. A safe woodworker is a productive woodworker.
For a deeper understanding of workshop safety standards, the OSHA woodworking safety guide is a must-read. It outlines tool-handling rules, dust control, and protective gear recommendations that can keep you safe on every project.
Conclusion: Learn, Fix, and Keep Building
Every woodworker, no matter how skilled, makes mistakes. The key is not to avoid them completely but to learn from them. With the right mindset and techniques, you can turn small slip-ups into valuable learning experiences. Take your time, respect your tools, and pay attention to the details — that’s what separates a good project from a great one.
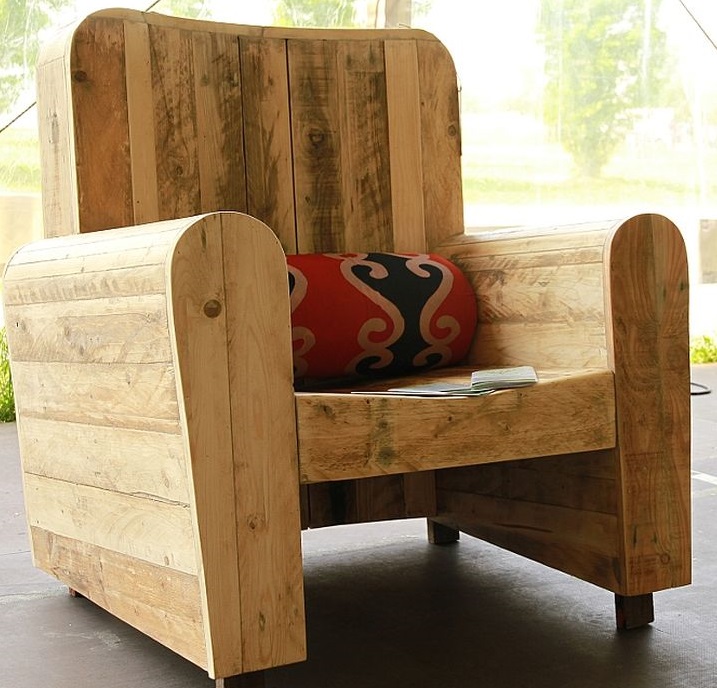
If you want practice projects that guide you step-by-step (so you can avoid common mistakes while learning), check out a clear step-by-step approach to pallet projects or browse more creative project ideas for inspiration.
So, the next time you find yourself facing a crooked cut or a glue stain, don’t get discouraged. Take a deep breath, fix the issue, and keep going. Each mistake you fix brings you one step closer to mastering the art of fine woodworking.